Materials
 Paper – any size paper will do, but we recommend thicker paper like watercolor paper.
- Watercolors – we used liquid watercolors, but a watercolor palette is fine.
- Crayons or oil pastels
- Pencil and eraser
- Black sharpie
- Watercolor paintbrush
- Water bucket
- Paper towels
- Newspaper
Instructions
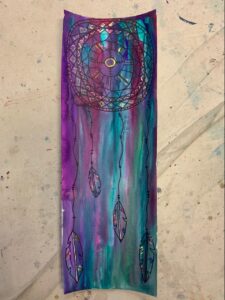
- Using a pencil, draw 6-8 circles within each other decreasing in size.
- Draw a pattern or design within each circle.
- Make sure to repeat the pattern/design all the way around the circle. You will begin to see new shapes!
- Draw some wavy lines to represent string tying the dreamcatcher and feathers together.
- To draw feathers, think of an elongated eye/almond shape. Your feather can either have a round or pointed tip at the end – it is up to you!
- Draw two lines down the center to represent the rachis, which is the middle part of a feather.
- To draw small separations in your feather, draw v-shapes along the sides and erase the outer line.
- Add clusters of lines together to create texture and embellishments.
- When you are done drawing, use a black sharpie to go over all the pencil. Erase any leftover pencil from your paper.
- Add more details and highlights with either oil pastels or crayons.
- If you are using crayons, we recommend white crayons only as they give the best results.
- Limit your color palette to 3-4 colors.
- Make sure not to color in the whole dreamcatcher!
- Use watercolor to paint over the whole drawing.
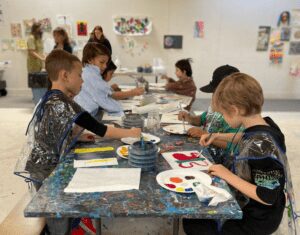
- Painting can be messy! Cover your workstation with newspaper to better contain the mess.
- We like using liquid watercolor as the colors blend together better.


